Little changes equal a big difference in making your social media more accessible for people who are blind and partially sighted. The changes you make don’t need to be drastic, most blind and partially sighted people are likely to have their own ways (such as magnification software or Braille displays) of making social media accessible. So, these tips are really about making a few small changes so that your posts can reach and be enjoyed by everyone.
Add Image Descriptions
Putting alternative text (alt text) on your images describes photos for people who are blind or partially sighted is very important as it allows them to build up a mental picture of what someone who is sighted is seeing. You do not need to describe every single detail of the image; a voiceover reads out your description so you certainly wouldn’t want to create a 1000-word one that’s full of irrelevant information. Just pick out a few key details that accurately but succinctly paint the picture.
How to add image descriptions on different social media platforms:
Facebook: With Facebook, you need to include a description in the text of your post. Write your post first and then tag the alt text onto the end of the post. It’s common to put your image description in brackets to separate it from the rest of the post.
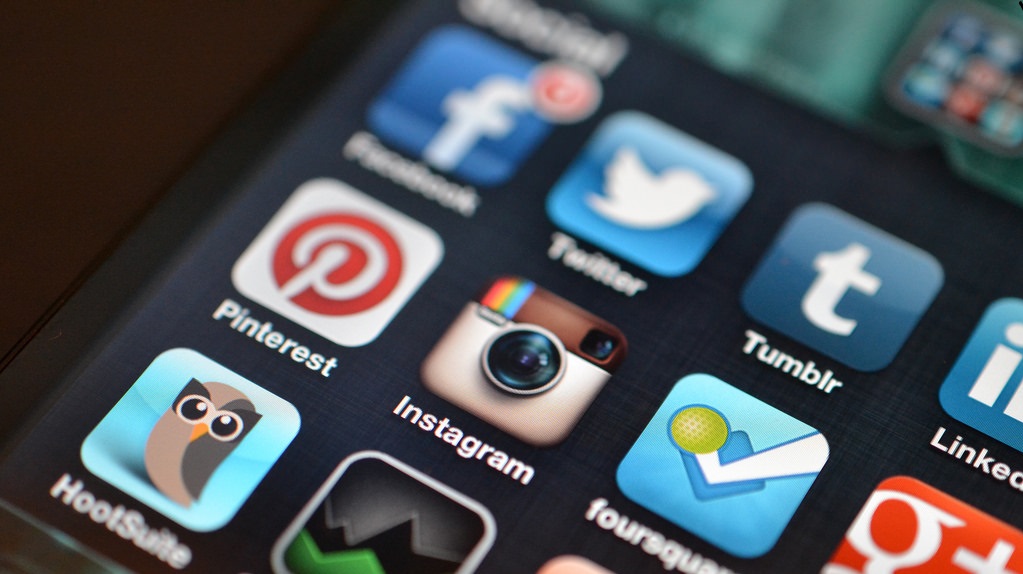
Instagram: When adding a caption to your image, click on “Advanced settings” and then select “Accessibility”. You’ll then have the option to “Write alt text”.
Twitter: With Twitter, you can add a separate image description to an image. To do this you will need to activate the ‘Image Descriptions’ feature, which you can find in “Twitter Settings”, under the “Accessibility” tab. You’ll then actually be prompted each time you upload an image to “describe this image”.
It’s worth nothing that Facebook and Instagram have introduced automatic alt-text, a feature that uses artificial intelligence to recognise objects within images and create a description for the image. There are two things to note on these platforms:
- Auto-generated alt-text cannot be turned off. Every image you upload will have auto-generated alt-text, making it extremely important that you check the accuracy of the alt-text and edit accordingly. Because of this, you don’t add alt-text on Facebook, you edit the auto-generated alt-text.
- You can only edit alt-text on a desktop computer or iOS device.
Use CamelCase in Hashtags
Whenever you’re using hashtags, always use CamelCase (capitalise the first letter of every word). Not only does this make it easier for every user to differentiate words, it also assists screen readers in reading the hashtag for those with visual or reading disabilities. For example, #WriteYourHashtagsLikeThis instead of #WRITINGYOURHASHTAGSLIKETHIS or #likethis.
Don’t Go Emoji-Crazy
A screen reader software reads out a description for every single emoji which is used, so be careful with the amount of emojis you include. For example, if someone puts four heart emojis, the software will read out “heart heart heart heart” this wouldn’t be very pleasant to keep hearing, not to mention it would be very annoying if a post was flooded with emojis!
Videos: Do you Audio-Describe or Not?
Videos don’t need to be audio-described, as long as they are audio-led. This means that the audio must be as important as what’s on screen – the video should send the same message, both audibly and visually. If it doesn’t, try to add a description of what happens in the video as part of the caption. To make them fully accessible, videos should have subtitles where possible. There are lots of apps available which make adding subtitles to your videos easy such as Camtasia.
Remember That Disability Representation Matters
Represent people with all kinds of levels of ability, including temporary disabilities like injury or limitations. This applies to all the content you share — photos, videos, written. If you’re a looking for an image, consider using a photo or artwork that includes disabled people. If you can, hire disabled photographers and artists who can best portray what it means to have a disability.
Create Trigger Warnings
With so much violence/upsetting content shared on social media, trigger warnings allow individuals to decide whether they want to interact with posts that could cause emotional or physical distress. Use the word “TRIGGER WARNING” followed by a space before your post, will tell an individual if there will be sensitive topics addressed in the content. You never know the history of others who are reading your posts, and so you might consider warning for things like assault, violence, blood, or any number of other sensitive topics.
BONUS: Keep alert for new accessibility features
Now that you’re a bit more informed on know how to make your social media posts accessible for everyone, you’re all set to share your message! But don’t forget to regularly check for new accessibility features on the relevant platforms you use.

One thought on “How to Make Your Social Media Presence More Accessible”